I saw a great bluegrass band called Monadnock when my family and I went to a pick-your-own apple orchard recently. They were very inspiring as most good musicans are to me. While chatting breifly with the mandolin player after their set, I mentioned I played electric bass and was interested in learning the mandolin. He said “The world needs more bass players and mandolin players.” Noted, indeed.

Since then, I’ve been infatuated with the mandolin, going to a couple different music shops and test driving the mandolins they had–three different ones ranging in price from $120 to $400. I was also intrigued by the mandola (slightly larger instrument) and the octave mandolin (larger than the mandola), but the only one of the two I’ve seen in person was a $4000 The Gibson octave mandolin from the 1920’s I saw at one shop. I dared not even take it off the very high display it was hanging from.
Prices for mandolas and octave mandolins were quite a bit more than your average, entry level mandolin. Cheapie mandolins can be had for under $100 while the most inexpensive mandola or octave mandolin I could find was well over $200. Those I would have to order from a website, so I had no idea what I was in for.

What’s the story with these instruments? From what I had read and the videos I’ve seen on YouTube, the mandolin family of instruments are decendents of the lute. The lute is an instrument developed in the middle ages in Europe and went on to influence other stringed instuments in The New World. Most cultures including neighboring Asia and Africa have had these kinds of instruments for hundreds if not thousands of years BC. There are paintings & statues found in Egyptian tombs depicting multi-stringed instruments as well.
European Lutes were usually multi-coursed, so they had either double string courses tuned to the same pitch, or octave courses–double strings tuned to the same note, an octave apart. Modern mandolins for the most part have evolved into instuments with eight strings and double courses. Other decendents of the lute around the world seem to be of similar size and tuning as the octave mandolin, or tenor mandola as its name more closely describes itself.
One thing I thought about was converting a small sized guitar into an electric mandolin or if the size was right, electric mandola. There’s fellow on eBay and Reverb.com who sells converted instruments, ranging in price from a couple hundred dollars on up. I thought about rolling my own, ‘cuz that’s how I roll, ya know, and I even emailed the aforementioned fellow about the bridges and nuts (plastic piece that holds the strings up near the tuners on a stringed instrument). The small guitars he uses are teeny, 1/2 the size of a standard guitar. One of the things I noticed when I played the manolins in the stores is just how dinky they are and how my muscular-stumped-bass-player-fingers would not be navigating the neck easily.
Rollin’ My Own I decided I wanted an acoustic instrument just in case I ever ran into a situation where I was jamming with other acoustic musicians. RTThe electric examples I heard just didn’t have the richness the acoustic mandolins (I use this term collectively to include the different sized instruments) had.
A kid-sized or 3/4 size guitar, would be the right scale length for an octave mandolin (tenor mandola) conversion. I’m not completely new to converting instruments/adding strings as my doubleneck and 8-string bass pages explain, so new projects are always welcome!
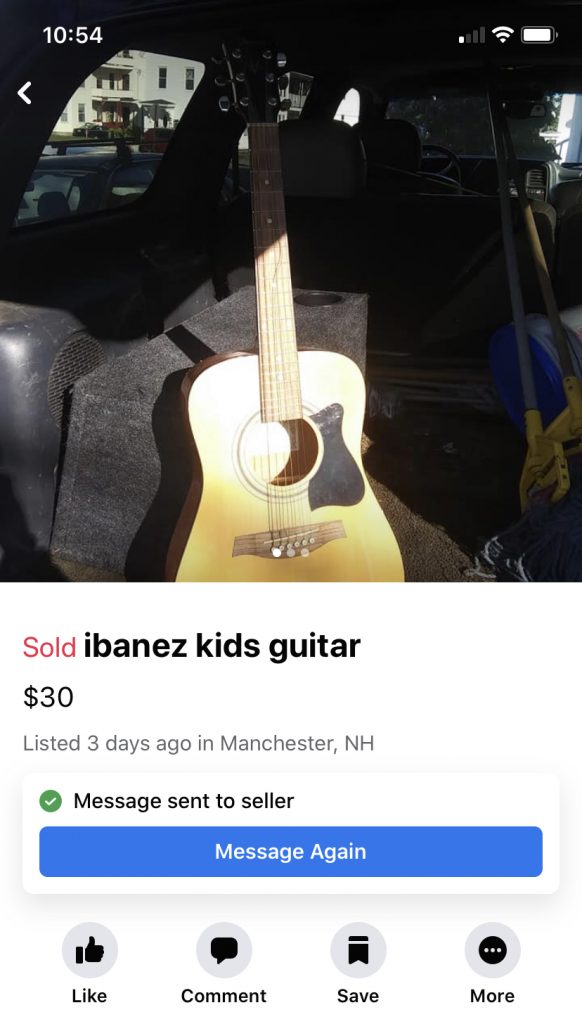
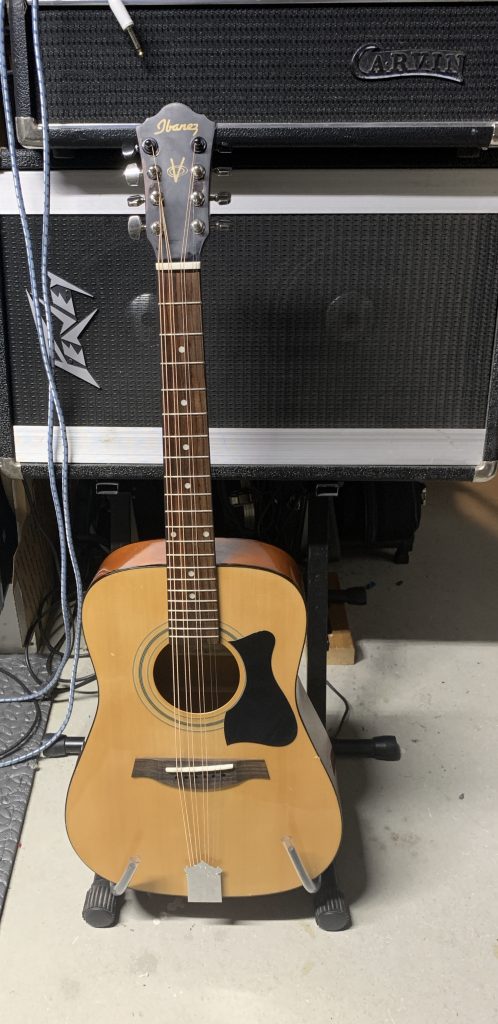
I found the perfect candidate for such a project, an Ibanez IJV30 a 3/4 size guitar on Facebook Marketplace. After I got home Thursday night with my $25 purchase (I asked if he’d take $25), I ordered a set of octave mandolin strings, bone saddle and nut and mandolin tailpiece from Amazon.com. From my 8-string bass conversion, I had two guitar tuners left over, so I used those. Two day shipping meant I could get it all done during the up coming weekend.
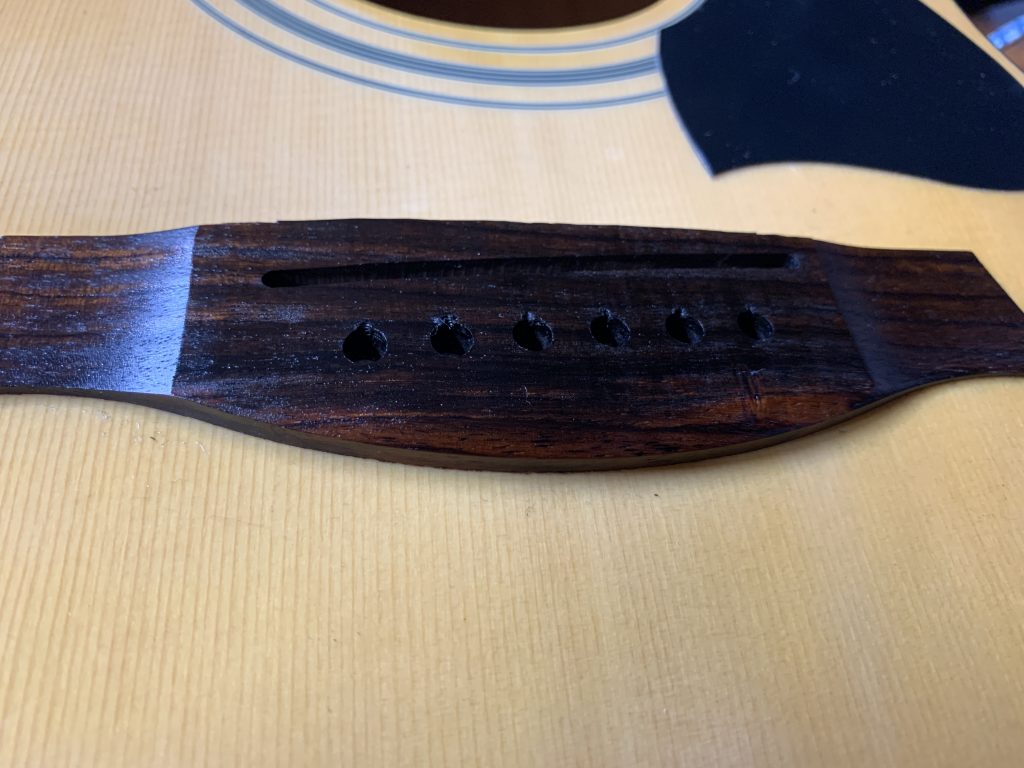
Friday night I spent cleaning the guitar, which looked like it had been sitting for many years, with its tremendous buildup of guuk and dust. The neck was straight and body in good shape. No separating in any of the wood joints inside or out that I could see. It also has a truss-rod for adjusting the neck if the mandolin strings were pulling too much. Both the fretboard and bridge were dried out from years of neglect. A little fretboard oil–okay multiple coats of oil–helped and rejuvenated the wood (see above photo).
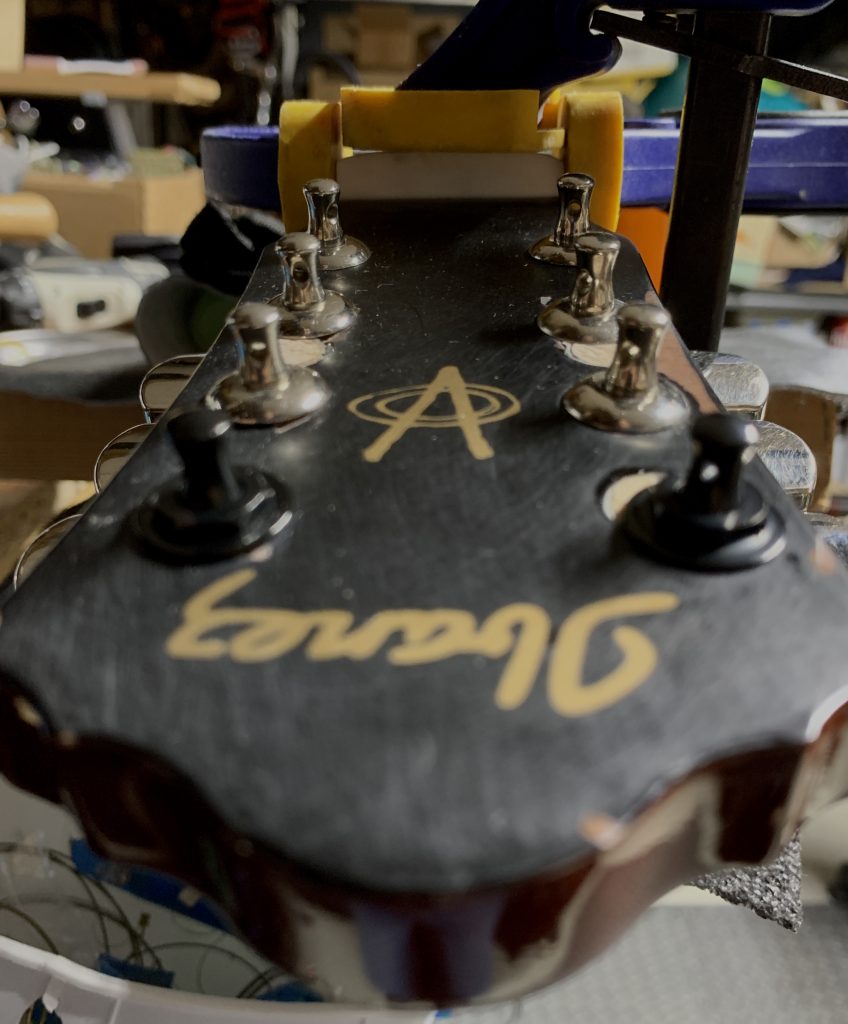
Since I wouldn’t have any parts or strings for another day or more, I figured I’d work on the headstock. I could simply add two more tuners farther up the headstock, but thought that might look funny. Since the other two tuners I had were black, I was going to go for the 6 string plus two additional strings look, with the black tuners at the top-most position. That meant moving four of the tuners closer to the nut or 1st fret. Before I did that, however, I needed to fill the holes of the tuners I was going to move. I have some maple wood that I’ve used before for making dowels and plugging tuner holes. This ain’t my first rodeo, remember?
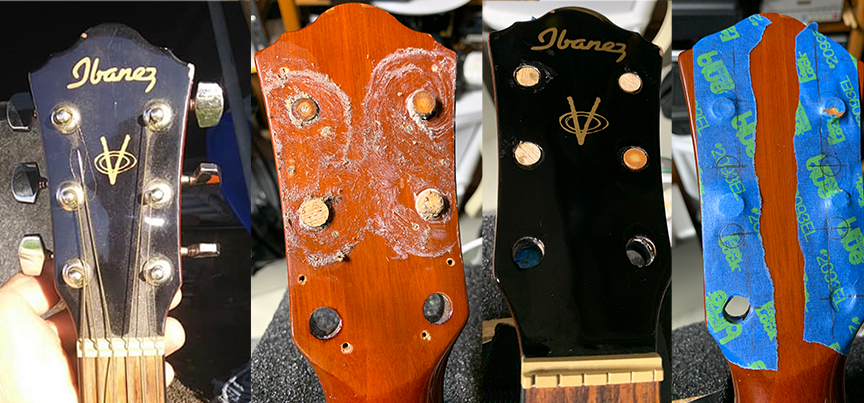
Gluing dowels (photo above) is easy part. Drilling the holes for the new locations of the tuners is the nerve racking part for a couple reasons. First, if there’s any tearout on the front of the headstock, I’ll need to fill that in. For this guitar, I found out after I drilled that the front actually has a thin piece of veneer on the front, which, despite me being careful, tore out.
I made a template with painter’s tape (right-most photo above) and wanted to see how the tuners would fit with all eight on there. Looking back I should have made more measurements for the way the strings went from the nut to each tuner post. They came out a little tight for my liking. Maybe next time, eh? After a day of gluing time for the headstock dowels, I smoothed out both sides of the headstock and made my final changes to the drilling template.
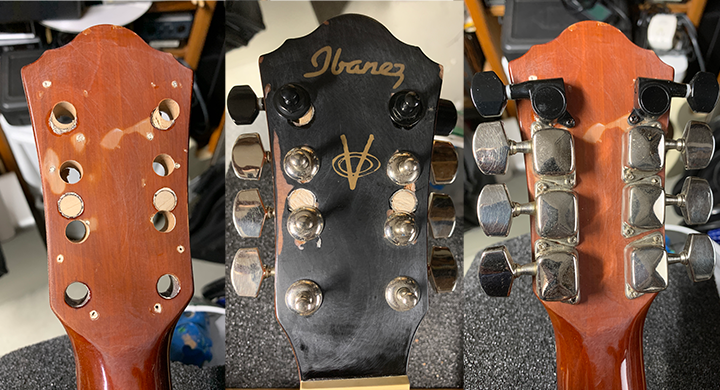
Using my trusty drill press and a forstner bit, I carefully drilled out the holes after I covered the front also with painter’s tape and pressed the headstock flush against a piece of scrap wood. There was a little tear-out, but some would be covered up by the tuner ferrules. I plan on asking a guy I know to refinish the front and back of the headstock some point.
Next up was shaping and mounting the nut and saddle. I had never used bone before for a saddle or nut and people seem to like the sound they give when mounted on an instrument. I couldn’t cut any grooves for the strings quite yet, as it was Saturday and the tailpiece was still in transit. Gluing up the nut would be an overnight thing and aside from more polishing, I was done for the day. As you can see in the photo above, the ferrules covered some of the dowels, but I’ll still need to paint or cover up the holes.
The next day the tailpiece arrived and I got to work aligning, measuring, aligning, measuring then finally drilling. Again, nerve racking. I’m sure the tailpiece would hide any screw ups I had drilling-wise, but I didn’t want to be too sloppy. Hindsight is 20/20 and if you look at the bridge photo back a few paragraphs, I had enough room for drilling a couple more holes so I didn’t have to order a tailpiece to hold the strings. It would have looked more stock I guess, but I wonder if the resonance of the strings through the instrument would be less.
After some tweaking of the action through cutting in the string slots in the saddle and nut, I was in business. Next is to learn a cool song to showcase the instrument. I’ve already written something, but since I know 2 chords, it’s not going to set the world ablaze.
It’s been a few days and I really like the sound. Definitely different than a regular guitar since it has the dual courses of strings. Maybe I’ll do an alternate tuning such as the Irish Bouzouki tuning of DADG, a sort of drop-D tuning much like I’ve already done on the guitar and bass. Right now it’s tuned (high to low) EADG, basically the opposite of a bass tuning or the bottom, low 4 strings of a guitar. Like a mandolin, except one octave lower. Those guitar chord positions don’t usually work on tenor mandola or mandolin, so I’ve got to learn some new chords.
There are a few things cosmetically there are a couple things that I will be doing, one is the headstock refinishing on both sides and the other is filling in the holes in the bridge. I’ll have to find some rosewood for that. Maybe my cabinet-maker friend has some… -TG