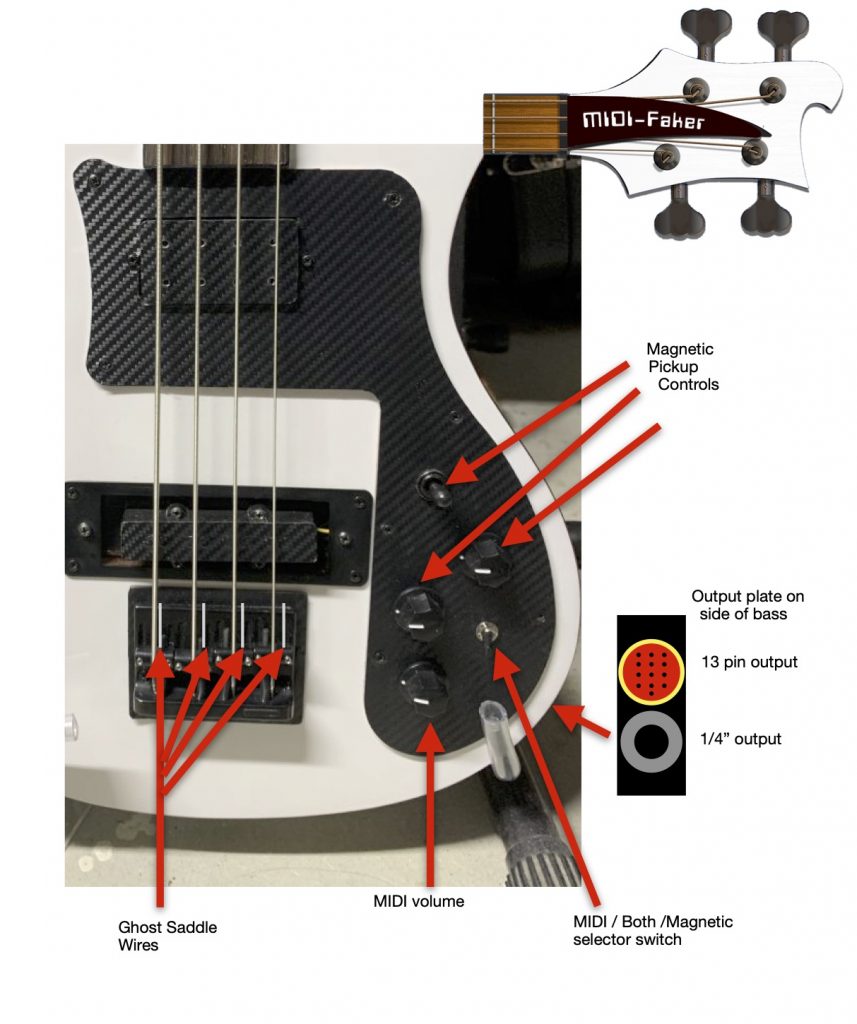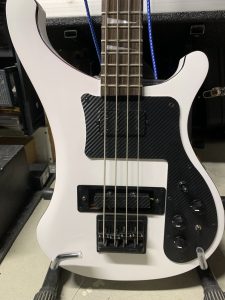
I’ve changed my mind and am going to use my Rickenfaker bass for this. It’s got the right kind of barrel-style bridge saddles and more room in the control cavity for the board and electronics.
For a while I was on an Aria Pro II kick, hoping for some kind of magic from the first new guitar I ever bought which was an Aria Pro II ZZ Standard, back in 1985. My doubleneck is an Aria Pro II and I also have a ZZ guitar that I bought a couple years ago. This bass I bought on eBay a few years ago and the seller didn’t seem like he knew much about instruments from the description and photos. I took it apart, cleaned it up and actually found mud inside the control cavity. Weird.
It had a couple other issues such as the truss rod was maxed out and I coudn’t get the neck straight no matter how much I turned the truss rod nut. I emailed the eBay seller and we compromised with a him giving me a partial refund. Come to find out, the truss rod was maxed out. After reading up on things to try, I was able to fashion a double thick washer and put it under the truss rod nut. This allowed me to torque the rod a little bit more and straighten out the neck. I took it apart and it’s been hanging in my basement, ready to be sanded and repainted. My thought was Cliff Burton’s black Aria Pro!
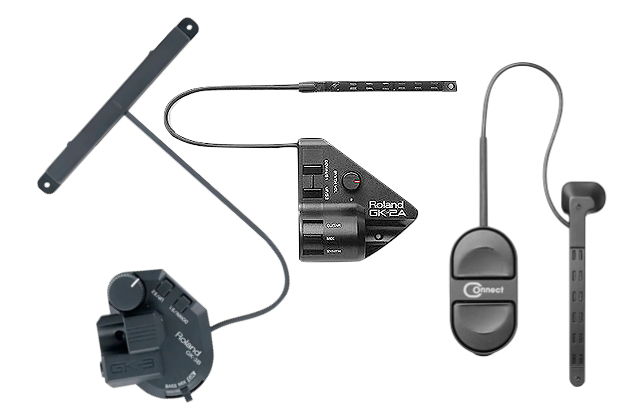
In my quest for new projects and guitar and bass MIDI controllers, I have decided to turn this bass into a MIDI controller. I have a few different kinds of MIDI pickups for my guitars and basses and I’ve never been a fan of having a big box mounted on the outside of the guitar (see photo above) or bass so when I came across some of the hardware I needed for this project, I figured it would be an interesting project. The Roland units I have use a special 13-pin connector that talks either to a Roland guitar or bass synth module or to an interface that splits out the MIDI data and audio so it can be connected to a synth, amp, etc. My MIDI guitar or bass rig consists of a Roland GI-20 interface that accepts the 13-pin connector and then I can MIDI into my Mac and run my software instruments inside of Mainstage. The unaffected bass or guitar (magnetic pickup) signal then goes into my pedalboard (such as my Helix LT) for effects.
MIDI & Piezos
Besides the instrument itself, I need some things to make all this work. First is some kind of pickup to capture the notes I want to turn into MIDI. For the Roland and Fishman systems, they have some kind of long pickup array that’s about as wide as a pencil and almost as long that fits next to the bridge of the instrument and is attached by cable to the control box or hockey puck box (see photo above). Roland systems call these divided pickups and Fishman say theirs are mini humbucker pickups. My setup is going to be internal for the most part, so in the words of Nigel Tufnel, “And…uh I can play without all the mucky–muck.” No external box, no wire on the outside and no pickup that I need to mount. The way companies such as Godin, Kiesel and others do it is by using piezo saddles. (I pronounce this word as pee-ay-zo but many people say pie-zo. It’s a Greek word.) These are essentially little microphones or pickups that are embedded into the instrument’s bridge saddles. Most electrified acoustic instruments use these types of saddles but the ones used for MIDI are a bit different as there needs to be one per string like the ones I bought. Lots of good info in this thread.
The Parts I Need
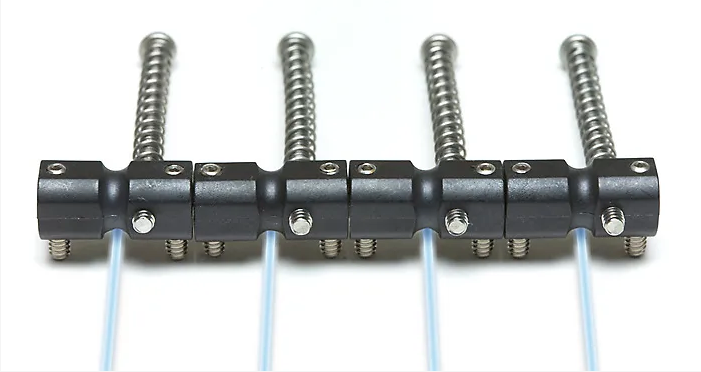
GraphTech Ghost Saddles. These will replace the regular saddles on the bass and the tiny wires attached to each saddle will send the vibration of the string into the circuit board. The wires need to be attached to one of the cables, below and they’ll travel from under the saddles into the interior of the bass. That’s about the only wiring that will be visible aside from the cable going from the instrument to the GI-20 box.
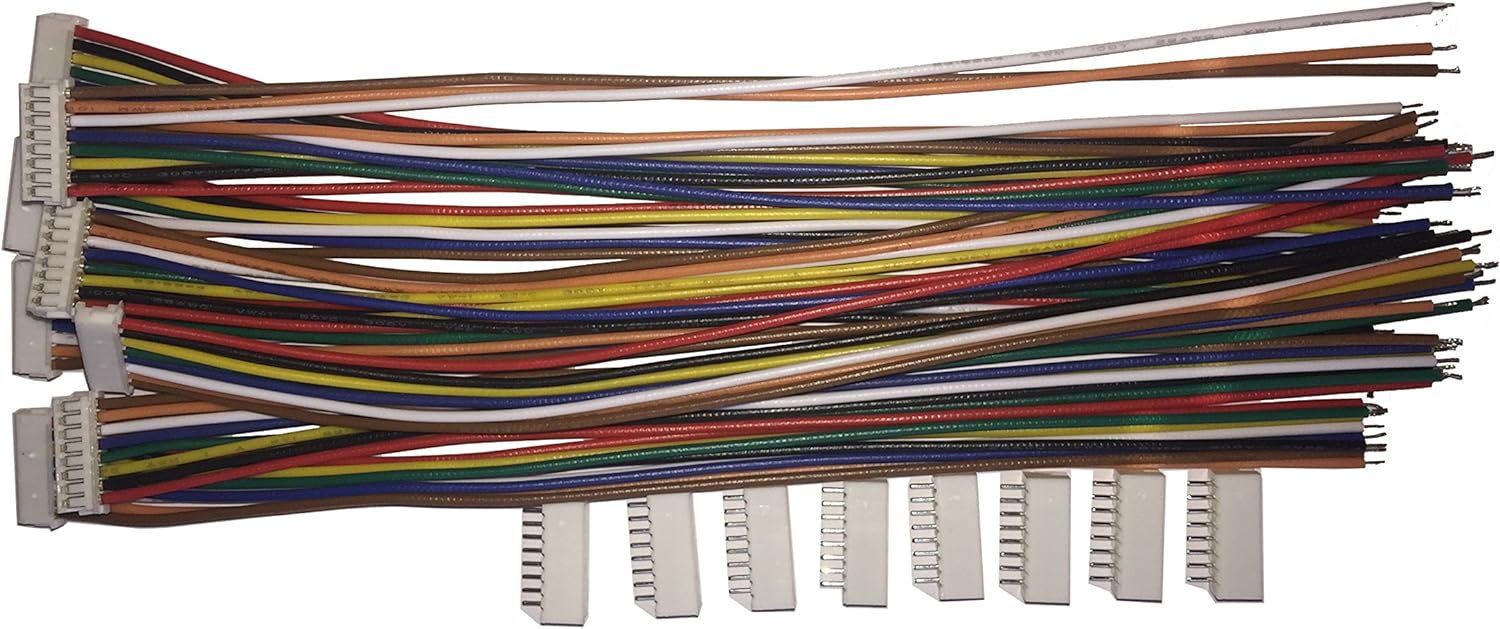
An 8-pin JST ZH Series cable (1.5mm pitch) to connect the Ghost Saddles to the GK circuit board. I found a multi pack on Amazon. I just need one, so I’ll have some extras!
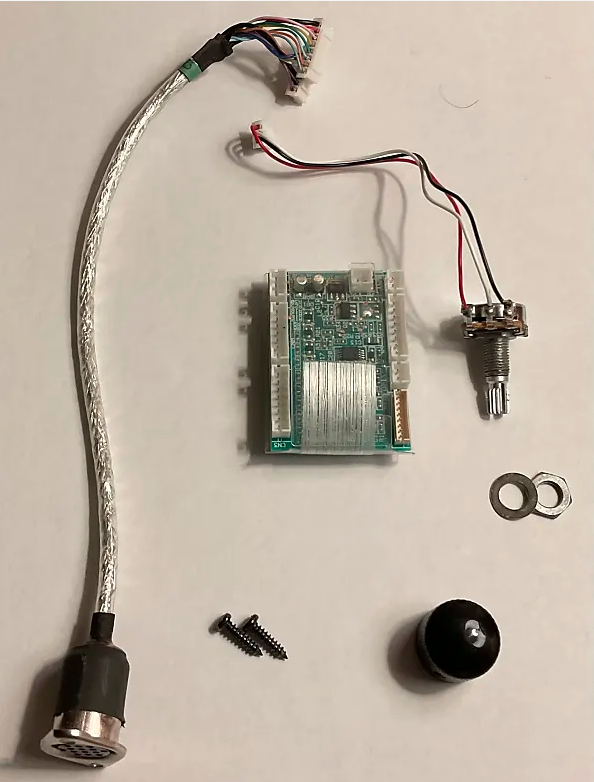
Roland GK circuit board, volume pot and 13-pin jack. This one is basically the same thing that comes inside one of those Roland GK pickups but made so guitar builders can embed the system on the inside of the guitar, which is what I’m doing. It comes with a 13-pin jack for the cable to plug into as well as a MIDI volume control. I can also plug other things into it if I have the correct connectors such as audio signal from the bass’s magnetic (built in) pickup, a couple of buttons to control MIDI functions such as up and down patch lists or parameters and a switch that chooses MIDI, magnetic pickup or both. My plan is to get the main parts working before I mess with adding features.
The parts are in! I’ve just got to get off my arse and get started. What I may do is make some kind of makeshift sled for mounting all of the hardware as well as a magnetic pickup, tuners and string it up so I can make sure I have everything working before I take apart the Ric. 2-19-24
Update, 2-21-24:
Yeah, so that didn’t go as expected. I should have done some more research. The impedance of the Ghost saddles are much lower than a Roland hex pickup, so the Roland GK board didn’t even pickup the signal of the Ghost saddles. Lesson learned. I ordered the Graph Tech Hexpander kit, which is designed to work with their saddles.
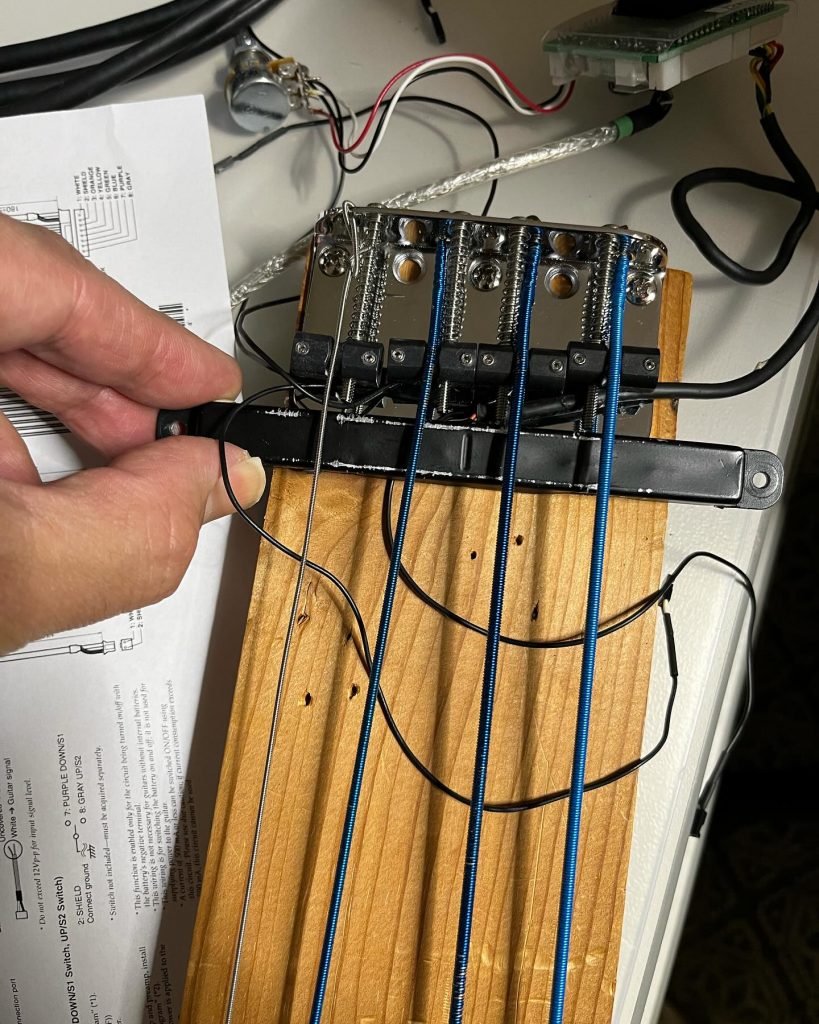
Update, 2-27-24:
I made a test sled with a bass bridge, tuners and strings, that I could use to see if stuff was going to work. Was I able to get a signal from the Ghost saddles to the GK board for instance?–no is the answer. When I received the Hexpander kit, I plugged in the saddles into the board and then the 13 pin cable interface and my Roland GI-20 was able to hear the strings through the saddles. Awesome. Now onto getting everything to fit in my Ric. Here’s a link to a video I posted on Instagram about testing the Ghost saddles.
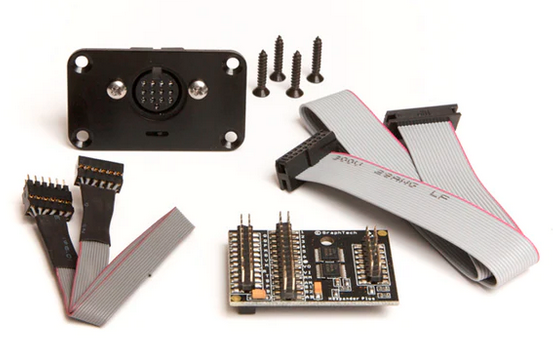
Update 3-1-24: I need to have the Ghost Saddle wires disappear under the bass’s finish/paint/wood somehow (see below this paragraph). There’s a video on YouTube where a guy fishes them under his bridge, which might be a plan. I could also try and extend the wires under the bridge pickup surround, which might be a bit easier. There’s about a 1″ wide ribbon cable that the saddle wires plug into that will ultimately plug into the Hexpander board (left). So either way, there’s going to be some kind of cutting going on.
