Do It Again
Back around 1987 my friend Marcy gave me what she described as “an old guitar my dad had.” That ended up being an early 1970s Hondo P-Bass copy. I didn’t know much about basses at the time and it was missing two tuning keys and that many strings. I ended up buying replacement tuners for it from a guitar shop. The tuners were super nice Grover wavy black bass tuners, way nicer than the bass itself. Wish I still had those!
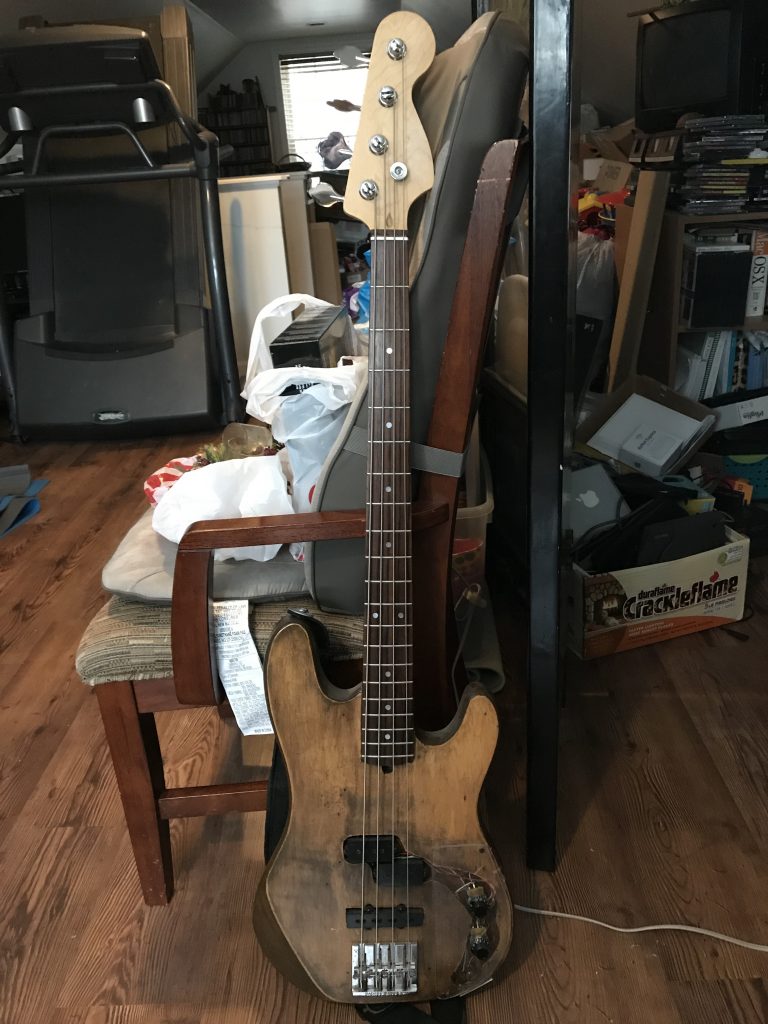
About that same time, I remember hearing about Jaco Pastorius and how he de-fretted his Jazz bass himself. So without any knowledge of how to do this, I of course set off, asking my dad for his input. Here’s a picture of that bass with a fretted neck a few years ago. I’ll have to get a pic of it with the original, de-fretted neck. While I was at it, I stripped off the sunburst finish and used various things around my dad’s workshop to re-do the finish and made a pick guard from a piece of perspex (see thru acrylic).
Who’s Up?
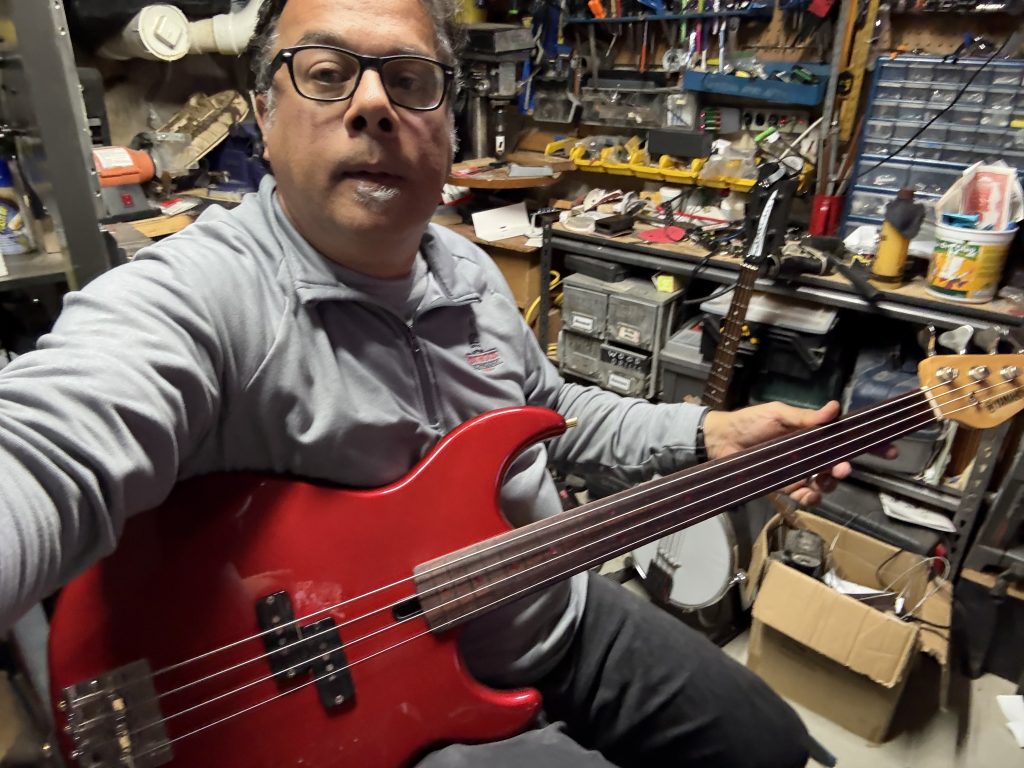
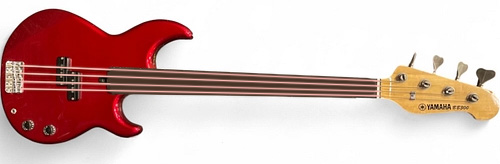
So which bass am I planning on using for Fretless #2? My 1989-ish Yamaha BB300 bass is the one. My #1 bass is a similar 1980s BB300 and I’ve modified that with a Jazz pickup and it is a magic instrument. It rarely leaves the house now. So not only will this be my second fretless, it’ll be the #2 to my #1 in a way. Hopefully I can recreate the magic on this one. I’m not sure if I want to add a jazz pickup to it or not though but I’m going to remove the finish from the back of the neck and some other things so it’ll be just as comfortable. I’ve mocked it up in Photoshop, removing the fret dots and filling it in with dark wood for a clean look. Stay tuned!
Update: Frets are out!
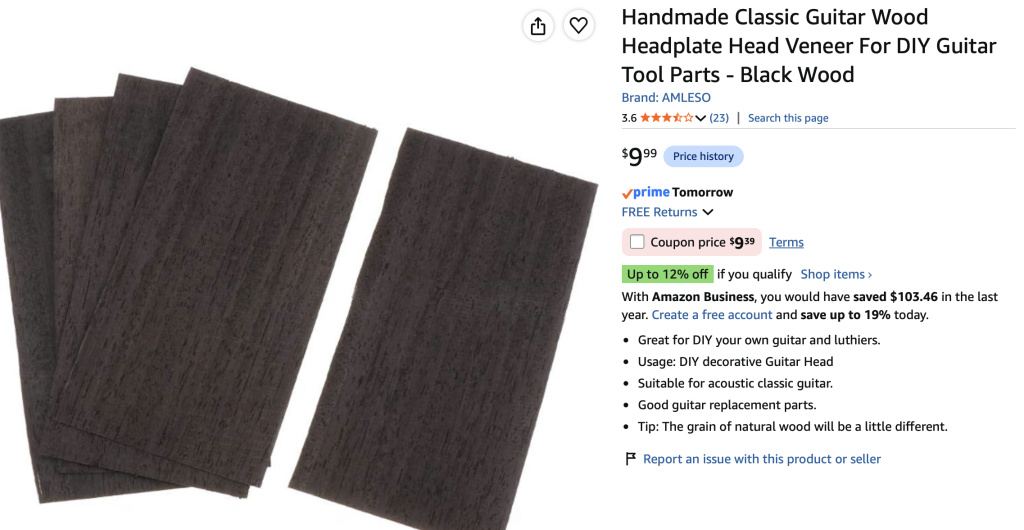
As you can tell from the video, the first one was the hardest because I don’t do this very often. As a matter of fact, the only other time I’ve removed frets was when I re-fret my Bank Robber guitar. By the last few frets, I had it down and didn’t even use the soldering iron to heat up the fret. I just used the utility knife to score each side of the fret and to actually pry up one end of the fret so I could get my pliers underneath the tang of the fret. Next will be removing the fret dots on the fingerboard and filling it in with the wood I ordered (see image).
Update: It’s going.
Slowly but surely I’m getting through it. Here the steps for doing this that worked for me:
- Clean out the fret slot
- Cut a piece of veneer to fit
- Insert veneer into fret slot
- (Super/CA) Glue down veneer end closest to opposite edge of neck
- Work my way down to the other side of the fret slot, toward me seating veneer down
- Glue down the middle of the veneer
- Glue down near end of the veneer
- Spray CA glue accelerant (activates the glue bond)
- Wait 15 minutes
- Score the veneer sticking out with a blade so it’s a little proud of the fretboard
- Use a chisel to scrape off the bit sticking up over the fretboard, making it flush with the fretboard
- Use a single sided razor blade with a tape channel (like mini cabinet scraper) to scrape down the end of the veneer sticking up.
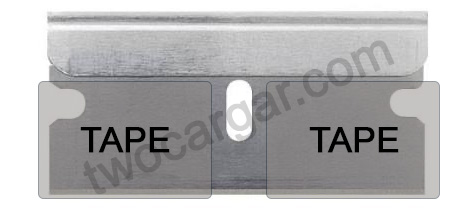
- Sand over the filled fret slot
- Collect the sanding dust into any divots in the fret slot that the veneer didn’t cover
- Apply a bead of CA glue down the length of the fret slot on top of the dust
- Do Steps 8-13 again.
Watch all of these exciting steps in action!
Update:
Just about done. I wanted to try nail polish but we had some matte black fabric paint that seemed promising. Unfortunately, it failed to stick and peeled right off. I tried again to fill in the fret dot that I drilled out and filled it in with some of the mystery dark wood veneer and superglued it into place. That kinda worked, but it’s not circular, so there’s that. For the other dots, I had the bright idea of using my furniture touch up marker to color in the dots and do a thin superglue coat over them and sand them down. That kind of worked, but all the dots turned RED! And they’re more blobs than circles, so I’ve got that going for me. Back to the drawing board. -.-
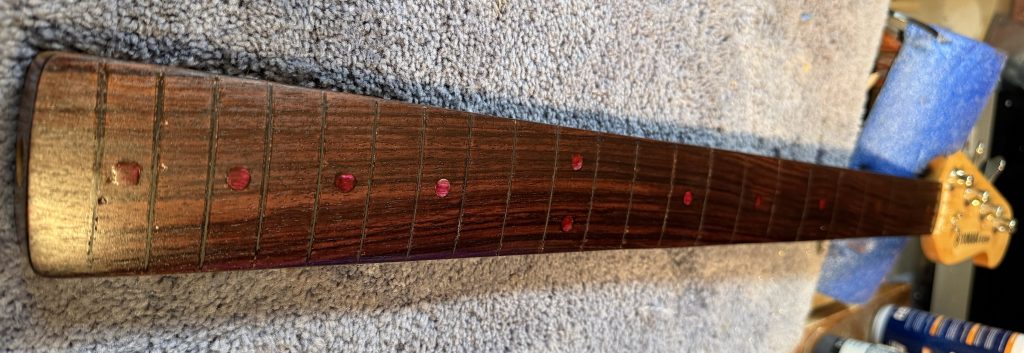
Finished!
Got it all put back together and strung up with some Ernie Ball Super Slinky bass strings. Sounds great! The fret dots are not as noticeable as I thought. The only thing I need to fix is the A string that buzzes a little in the nut slot. Also, I may do some kind of line on the top side of the neck (looking down while playing) so I can see the fret lines a little better. Right now I’m relying on the dots on the side of the neck.