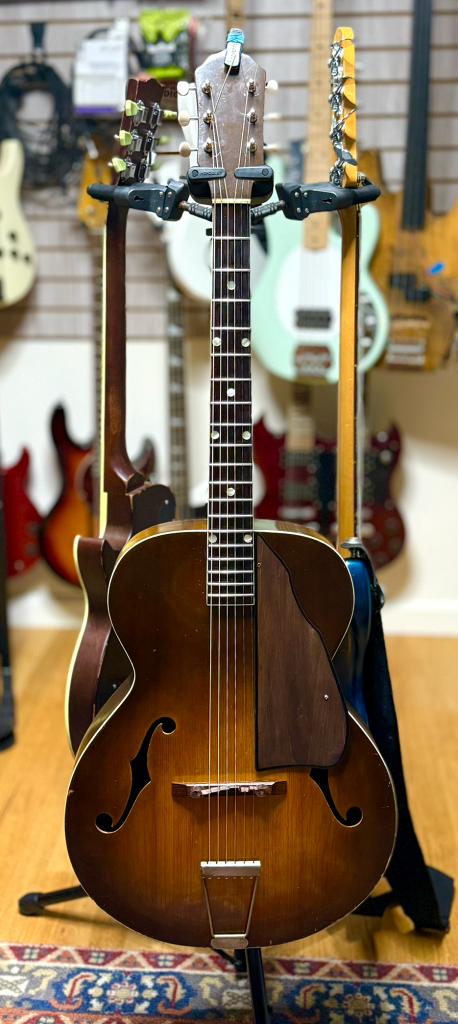
7-23-25: I’ve decided to put my Bank Robber guitar back to its (mostly) original state as a guitar and not an acoustic bass guitar. Since this was the first instrument I ever bought, it’s obviously special to me and I remember playing it for ours on end but that was back in 1983 & ’84 before I bought my Aria Pro. It would be nice to play it again, but it does need some work. I thought about making it a nylon string guitar but I’ve decided to put it back to its steel-string glory.
First off, I need to put the headstock back to guitar mode, so I need to fill the holes made by the bass tuners I installed. Of the headstock’s 6 holes, I only enlarged 4 of them because it was a 4 string bass and I wanted to use the same holes. Interesting about the headstock holes, originally this guitar has Kluson Deluxe tuners, similar ones that (now) multi-million dollar Les Paul Goldtop guitars have on them. I think I threw them away. (CRINGE as the kids say now.) Anyhow, these tuners were replaced by me in the 1990s with gold plated Grover Rotomatic tuners, which are currently on the wall-hanger Kay Bass VI Conversion. Back then I had to enlarge the holes to accommodate the Grovers as they had wider shafts than the Klusons.
So I drilled out the holes a bit and made some plugs out of some scrap maple I had (the guitar neck is also maple) using my drill press. Once I was satisfied with the fit of the plugs in the holes, I tried my best to line up the grain lines and glued them in place. See video below.
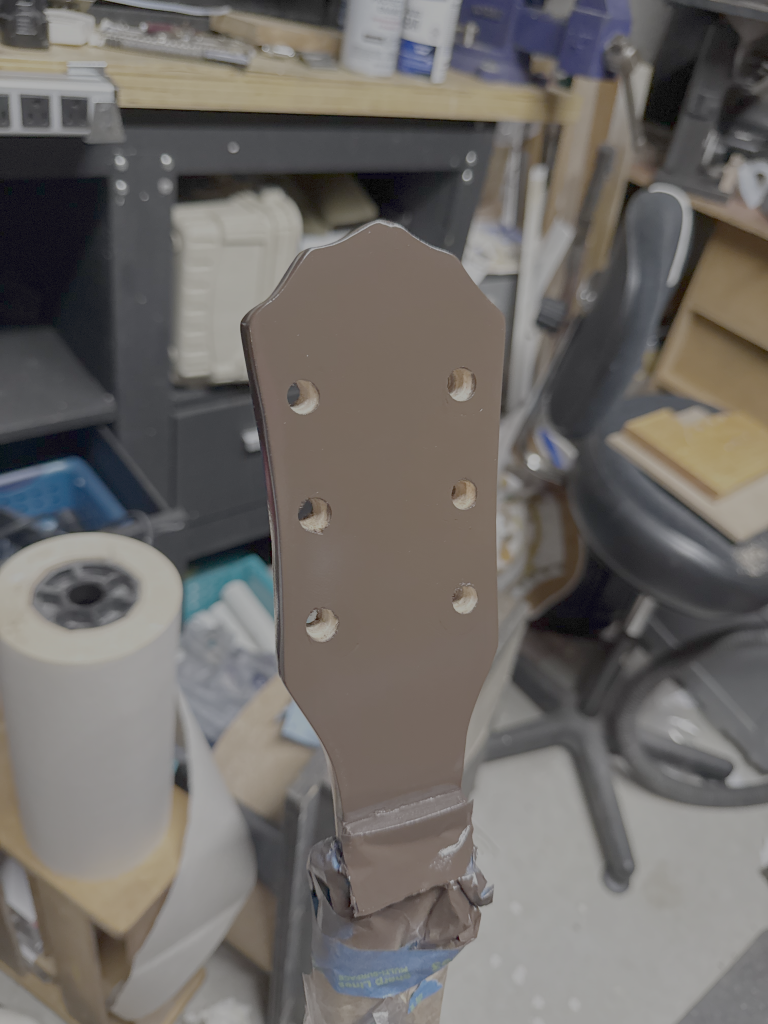
Next up is sanding and repainting the headstock after I fill in all the screw holes in the back of the headstocks from the three different kinds of tuners it has had. I think the brown spray paint I have will match. Maybe I’ll lightly relic it after I respray it, IDK.
7-26-25 Progress
I got the plugs glued in and went ahead and filled in some of the holes and gaps with some wood glue and sawdust which dried to a cement-like texture. After a lot of sanding, I got it pretty smooth and I think the next step is primer. Hopefully that shows any imperfections that I can sort out before paint goes on.


After prepping the headstock, I moved on to look at the fretboard. In all my years of owning this guitar I’ve never done anything to the frets as far as polishing or dressing them, so I figured I should measure them to see how worn down they are. Well, they’re worn to the nub after almost 70 years! According to the Google-machine, “Frets are typically replaced when they’re less than .025” or .65mm. Yeahhhhh, I think I’m beyond that with my .53mm measurement. A fretless wonder (haha). I’ll be looking for re-fret supplies next.
7-28-25 Fretwire and tools ordered


7-30-25 Primer and Paint Applied
The last couple days have been wicked hot so I thought it might be a good time to start some painting. Not my favorite thing to do, so we’ll see how it comes out. It did give me an opportunity to make a paint can shaker because I enjoy making stuff out of things I already have around the basement/shop. In this case it was a soup can, an old sock, some pieces of non-slip mats that you stick under area rugs and pieces of a cut off wheel that I recycled. I chucked it into my impact driver and the knot I tied in the end of the sock ended up giving it some unbalance so it shook it pretty good!
No surprise but painting didn’t turn out very good. Lots of orange peel, so maybe I can salvage that. I wasn’t too concerned about the back of the headstock because it will have tuners that should cover up most of the holes that I didn’t patch.

Update 8-8-25: My spray paint must have been too old because it didn’t harden, it just stayed tacky for 3 days. So I put some paint stripper on it. The photo to the left is it in its mid-strip phase. I’ve moved on to the refret, including making my own fret press! See video below.
Initially I was very nervous about refretting because I hadn’t done it before and that was a bit nerve racking. Thankfully I have seen many, many YouTube videos on how to do it so I was able to gather all that info and it seemed very familiar to me when I started pulling the frets. I knew to soften the fingerboard with a little water, use my soldering iron to heat up the frets if they were glued in (which they weren’t) and to work from one end of the fret to the other, taking my time.
Thanks Rosa String Works and Woodford Instruments for the videos and inspiration!
Update 8-15-25
I got the headstock drilled out and repainted. When I was blowing off the sanding dust with my air compressor, I must have dislodged some of the filler in the front of the headstock so when the paint went on, there’s an indentation. Oh well, I’m not fixing it; I hate sanding and painting.
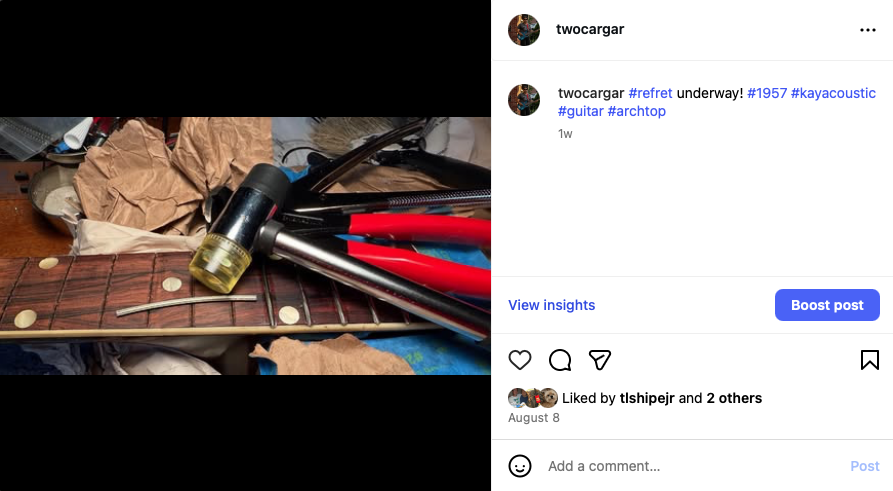
While the paint was curing for a few days, I started on the re-fret. Wow, that’s a lot of work. I’ve seen it done lots of time on YouTube but when you’re in there doing it, it’s much different. It definitely is meticulous work. I’m glad I did it though. It’s not perfect, but it’s satisfying to think I did it myself. The trimming and filing of the frets was the hardest part. Here’s a recap:
- Clip the ends of the frets
- File them so they’re not sharp, careful as to not mark the neck or fingerboard
- Level the frets
- Tape off the fingerboard
- Put marker on the frets
- Crown the frets
- Check with the fret rocker to see if the fret in front of or behind is too tall or short
- Put marker on the frets that need more work
- Re-crown the frets
- Use fine grit to polish the frets
After the fret work, I was keen to get the thing strung up and strumming! The paint came out better than I thought, but alas, it didn’t quite match. Whattaya gonna do? Beforehand I made a drilling template for the headstock and made sure the new tuners and ferrules fit the holes in the template. That worked well enough. Now the nerveracking problem of getting the tuners installed, screwing the tuners in and hopefully finding the original nut and saddle!
Yes, the packrat that I am, I had those things saved away. The nut was not tall enough because the new frets were double the height of the old ones. I had another one I could use.
Funny, the name Bank Robber came from the difficulty tuning the guitar and when I strung it up with the original nut, I noticed the same problem! Turns out it was the angle of the string slot in the nut that was making the string bind. The second nut I used has a better angle so that works a little better. I may put some grease on the tuner shaft so it turns easier in the ferrule as I think it might be binding a little still.
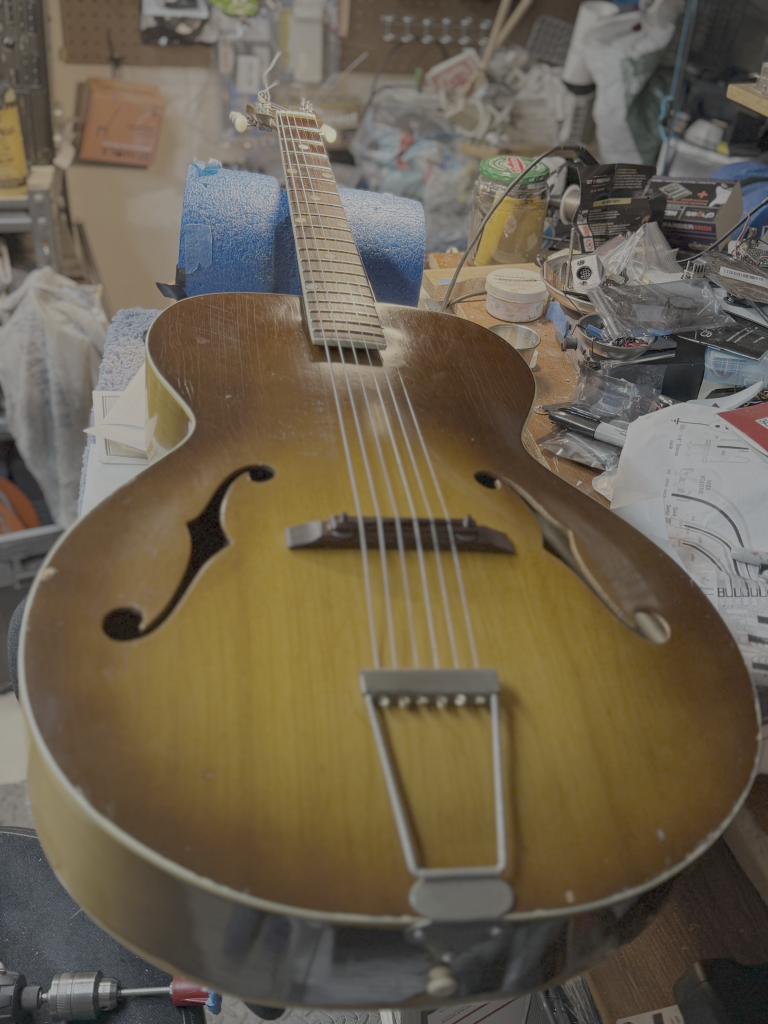
Here she is looking resplendent in her new frets, tuners, paint and fresh strings! The next step is adding a pickguard. There hasn’t been one on it since I’ve had it–1983!
8-18-25 Update
I’ve always wanted a pick guard for the ol’ girl so I decided to make one out of balsa wood. The wood is incredibly thin, so I cut the shape and from the scraps I glued them onto the back of the guard with the wood grain running perpendicular to the main pieces grain and laminated them together with wood glue and set them under a board with a heavy object on top.
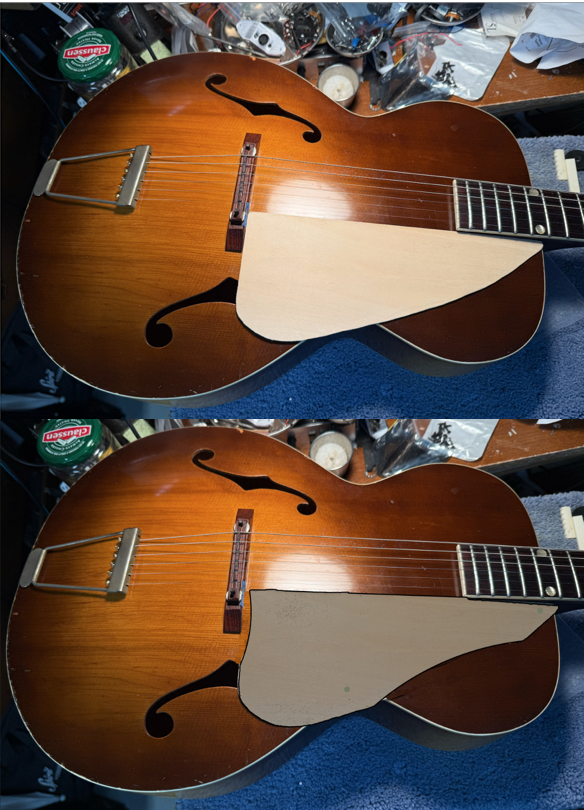
The top photo is the way I cut it and the bottom is me messing with it in Photoshop. I got some ideas from other guards I found on the web. The cut outs give it a little class I think, rather than the straight lines. And I like the black outline. I’m not sure about the color yet, but definitely something darker rather than lighter.
9-1-25 Update
Pickguard darkening went well and I even reshaped the guard and did some test fitting, it’s almost black now so I think I’ll stop. I ended up using black shoe polish on it and buffed it out but it didn’t seem to make it much darker. So I sanded it down a bit and used my touchup markers to add some color. I’d drop lines across in the direction of the grain, then rub it with a little rubbing alcohol on a rag to soften it. I like it. Finally, I drew around the edge with the darkest marker –How much more black could it be?
After all that I ordered some light acoustic strings and used an old rosewood saddle I had, which I first cut to size and drilled holes in the edges so it would fit on my bridge. I have to say, it plays like a dream! I’m not 100% satisfied with the headstock color and how it doesn’t blend on the back of the neck/headstock but man, it plays great. It not only takes me back to all those hours of playing when I was but just a lad, but I think it plays better than my Ovation.
