Here are some things I am going to use for my first Arduino MIDI project. This is going to be a simple controller with six buttons and LEDs just above the buttons. A display would be nice, but it’s not a deal breaker. I will most likely use it for turning on and off and switching instruments in my MIDI setup.
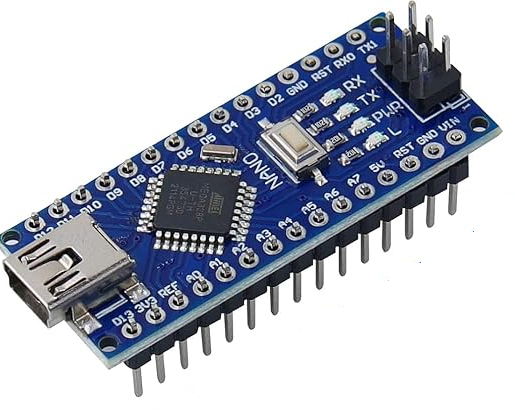
Mini Nano V3.0 ATmega328P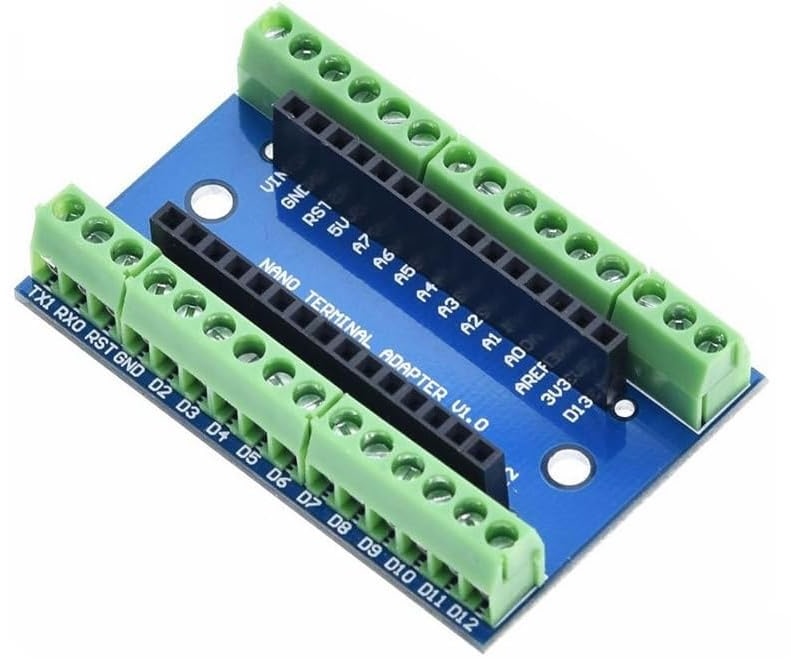
WWZMDiB Expansion Board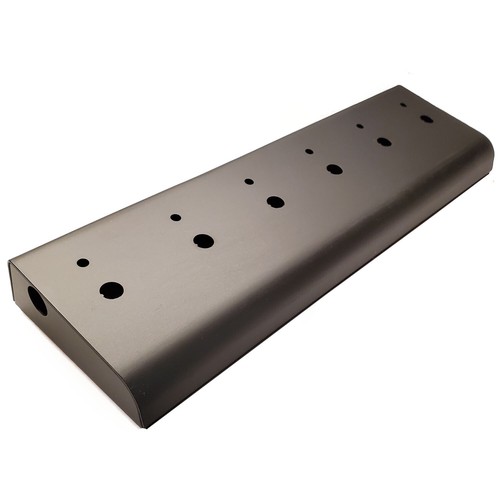
DIY Metal Guitar Pedal Project Sloped Box, Black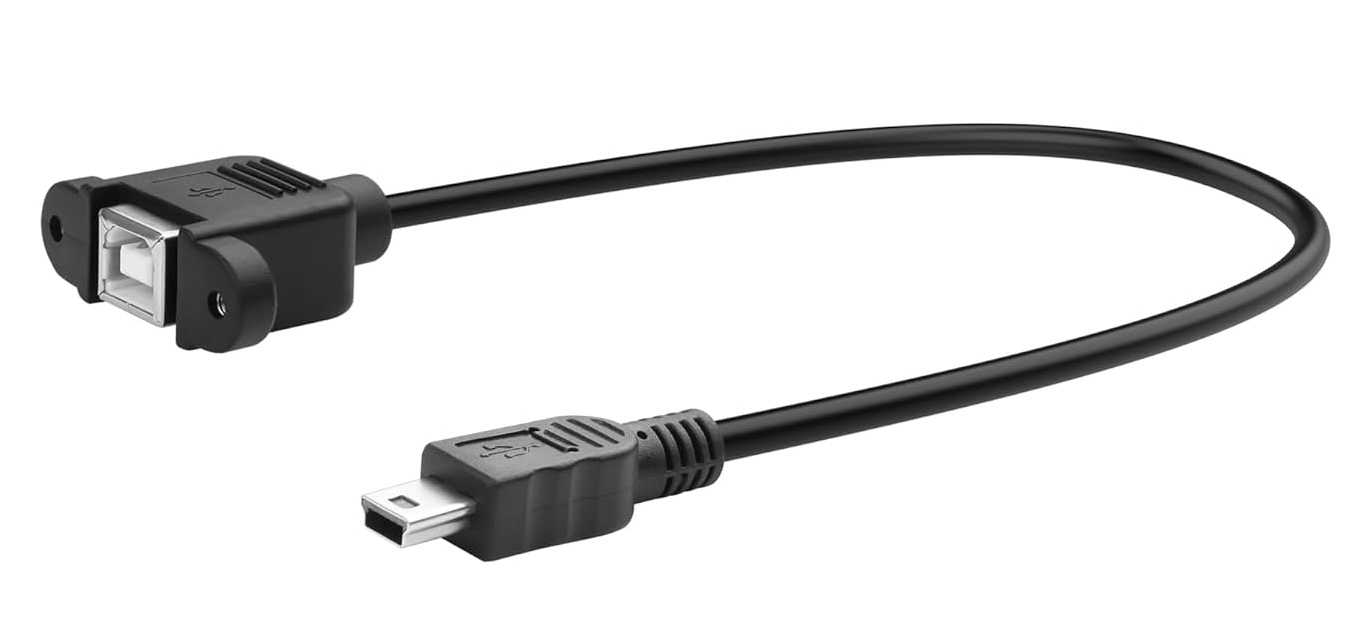
USB Mini to USB B connector
I haven’t done any Arduino projects before, so hopefully this goes reasonably well. A quick Google search popped these instructions up:
How to Set It Up
- Hardware Setup: Connect your potentiometers (for knobs/faders), buttons, or sensors to the Micro’s analog and digital pins. [1, 2, 3]
- Library Installation: Open the Arduino IDE, go to Tools > Manage Libraries, and search for and install the official
MIDIUSBlibrary. [1] - Coding: Use the library’s
noteOn,noteOff, andcontrolChangecommands to send MIDI signals over USB. You’ll end each message withMidiUSB.flush()to send the data to your computer. [1, 2] - Software: Once your code is uploaded, your Arduino will automatically appear as a “MIDI Controller” in DAWs like Ableton, Logic, or FL Studio. [1, 2]
Standard Example Code (Single Button)
Here is a quick example of a sketch that sends a MIDI Note On/Off when a button is pressed:
cpp
#include <MIDIUSB.h>

const int buttonPin = 2; // Pin connected to your button
int previousButtonState = LOW;

void setup() {
  pinMode(buttonPin, INPUT_PULLUP);
}

void loop() {
  int buttonState = digitalRead(buttonPin);

  if (buttonState == LOW && previousButtonState == HIGH) {
    // Note On: Channel 0, Pitch 60 (Middle C), Velocity 127 (Max)
    midiEventPacket_t noteOn = {0x09, 0x90, 0x3C, 0x7F};
    MidiUSB.sendMIDI(noteOn);
    MidiUSB.flush();
  }
  else if (buttonState == HIGH && previousButtonState == LOW) {
    // Note Off: Channel 0, Pitch 60, Velocity 0
    midiEventPacket_t noteOff = {0x08, 0x80, 0x3C, 0x00};
    MidiUSB.sendMIDI(noteOff);
    MidiUSB.flush();
  }

  previousButtonState = buttonState;
  delay(10);
}
Use code with caution.